


To install a water heater expansion tank, first turn off your home’s main water supply and the heater’s power source. Use a tire pressure gauge to match the tank’s pre-charge pressure to your home’s water pressure. Cut into the cold water supply line, attach a tee fitting, apply Teflon tape to the threads, and tightly secure the expansion tank.
When water heats up inside a closed-loop plumbing system, it expands. This natural physical reaction, known as thermal expansion, creates excess pressure that can severely damage your pipes, plumbing fixtures, and the water heater itself. Installing an expansion tank gives this extra water volume a safe place to go, preventing expensive repairs down the road.
If you want to protect your plumbing, learning how to install water heater expansion tank is a great weekend project. Many local building codes now strictly require these devices for new water heater installations or replacements.
This guide will provide a clear, step-by-step walk through of the installation process. We will cover the essential tools you need for the job, safety protocols, and bonus maintenance tips to keep your plumbing system running efficiently year-round.
What is thermal expansion in a closed-loop plumbing system?
When your water heater warms cold water, the liquid expands. Historically, this expanding water would simply push back out into the city water main. Modern homes use closed-loop plumbing systems featuring check valves or pressure-reducing valves that prevent water from flowing backward.
Because the expanded water cannot exit the home, the pressure inside your pipes spikes. An expansion tank solves this problem. The tank contains a rubber bladder surrounded by compressed air. When the water expands, it pushes into the tank and compresses the air, safely absorbing the excess pressure.
What tools and materials are needed for the installation?
Before starting the installation, gather the necessary materials. Choose an expansion tank size based on your water heater’s gallon capacity and your home’s baseline incoming water pressure.
You will need the following tools and supplies:
- A properly sized water heater expansion tank
- A water pressure gauge and a standard tire pressure gauge
- A pipe wrench or adjustable wrenches
- Teflon tape (plumber’s tape)
- Copper or push-to-connect tee fittings
- Pipe cutter (if cutting copper or PEX lines)
- Mounting brackets (if required by the tank manufacturer)
Step-by-step guide: How to install water heater expansion tank
How do you prepare the area safely?
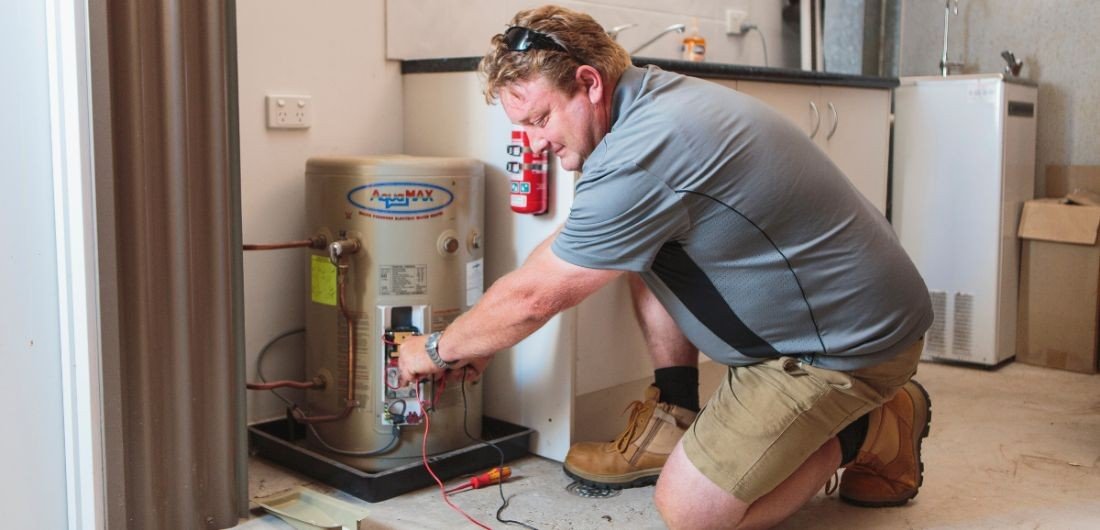
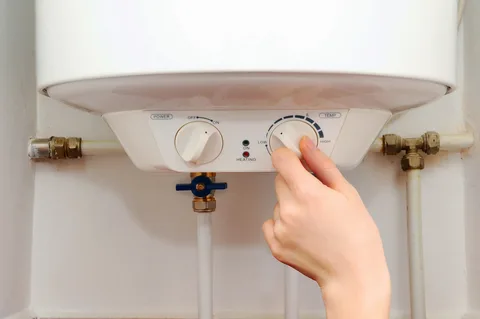
Safety must be your top priority. Start by turning off the power source to your water heater. For an electric heater, switch off the dedicated breaker at your electrical panel. For a gas heater, turn the gas control valve to the “pilot” or “off” position.
Next, turn off the cold water supply valve located just above the water heater. To relieve the built-up system pressure, open a hot water faucet somewhere inside the house, such as a kitchen or bathroom sink. Leave this faucet open while you work.
How do you mount and secure the expansion tank?
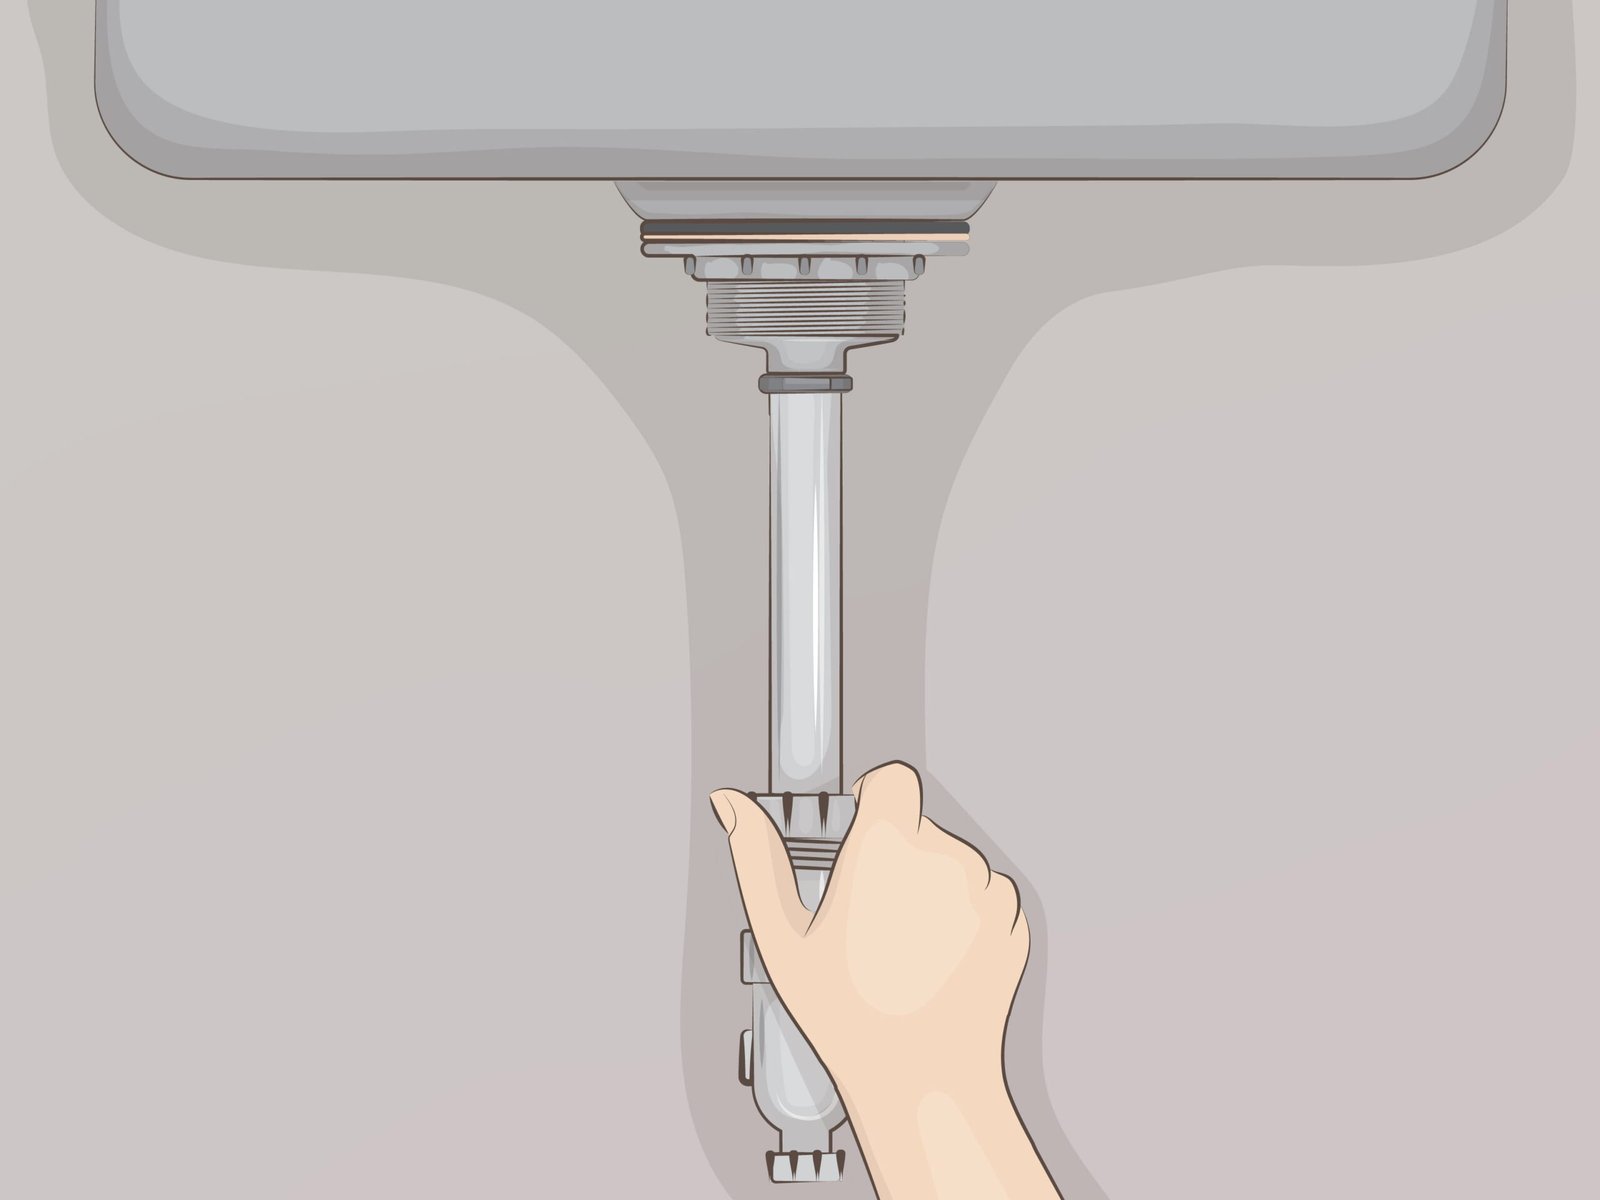
Expansion tanks must be installed on the cold water supply line before the water enters the heater.
- Check the pressure: Attach a water pressure gauge to an outside hose bib to find your home’s exact water pressure (typically between 40 and 80 PSI). Use a standard tire gauge to check the expansion tank’s pre-charge pressure at the air valve. Add or release air from the tank so it perfectly matches your home’s water pressure.
- Install the tee fitting: Cut a small section out of the cold water supply pipe above the water heater. Install your push-to-connect or soldered tee fitting into the open line. The threaded branch of the tee should point outward to accommodate the tank.
- Attach the tank: Wrap the threaded connection of the expansion tank with three to four loops of Teflon tape to ensure a watertight seal. Hand-tighten the tank into the tee fitting, and then use your pipe wrench to give it a final, snug turn.
- Support the weight: Water is heavy. Once the tank fills, it can put severe stress on your pipes. Install mounting straps or brackets to secure the tank to the wall or the pipes, following the manufacturer’s specific guidelines.
Once secured, turn the cold water supply back on and check for leaks at your connection points. Finally, restore the power or gas supply to the water heater.
Bonus water heater troubleshooting
How long does hot water take to heat up?
After draining or replacing parts of your plumbing system, you must wait for the tank to heat the fresh cold water. Homeowners often ask: how long does hot water take to heat up?
The answer depends on your fuel type. Gas water heaters are generally faster, taking about 30 to 40 minutes to fully heat a standard 40-gallon tank. Electric water heaters take longer, usually requiring between 60 and 90 minutes.
If you are wondering exactly how long for a hot water heater to heat up entirely during freezing winter months, factor in the groundwater temperature. Colder incoming water will extend the heating recovery time by 10 to 15 minutes. High-BTU gas burners will naturally recover faster than lower-end models.
How do you clean a thermocouple on a water heater?
If you own a gas water heater and the pilot light refuses to stay lit, you likely have a dirty thermocouple. The thermocouple is a small safety sensor that detects the pilot flame. If it gets covered in soot, it shuts off the gas supply.
So, how do you clean a thermocouple on a water heater? First, turn the main gas valve completely off and let the unit cool down. Remove the burner assembly cover at the bottom of the heater. Locate the thermocouple, which sits directly next to the pilot light tube. Gently rub the tip of the thermocouple with a piece of emery cloth or fine steel wool to remove the carbon buildup. Once the metal is shiny again, carefully reinstall the assembly and relight the pilot according to the instructions on your tank.
How to keep your home plumbing safe and efficient
Successfully installing an expansion tank provides peace of mind and extends the lifespan of your expensive water heater. To keep the system functioning properly, set a calendar reminder to check the tank’s internal air pressure once a year. If the tank sounds completely solid when you tap it with a screwdriver, the internal bladder has likely ruptured, and the unit must be replaced.
Frequently Asked Questions (FAQ)
How much does a water heater expansion tank cost?
A standard expansion tank usually costs between $40 and $60 at most hardware stores. Push-to-connect fittings and Teflon tape will add an extra $20 to your materials budget.
Where exactly should the expansion tank be located?
You should install the expansion tank on the cold water inlet pipe, placed horizontally or vertically depending on the manufacturer’s instructions. It must be installed downstream of any check valves but before the cold water enters the water heater.
Do I need a professional to install an expansion tank?
If you have basic plumbing knowledge and the right tools, this is a manageable DIY project. Choose a licensed plumbing professional if you need to solder copper pipes and do not have experience with a blowtorch, or if you feel uncomfortable shutting off your gas and electrical lines.