How to Sew a Button: A Step-by-Step Guide for Shirts, Coats and Pants
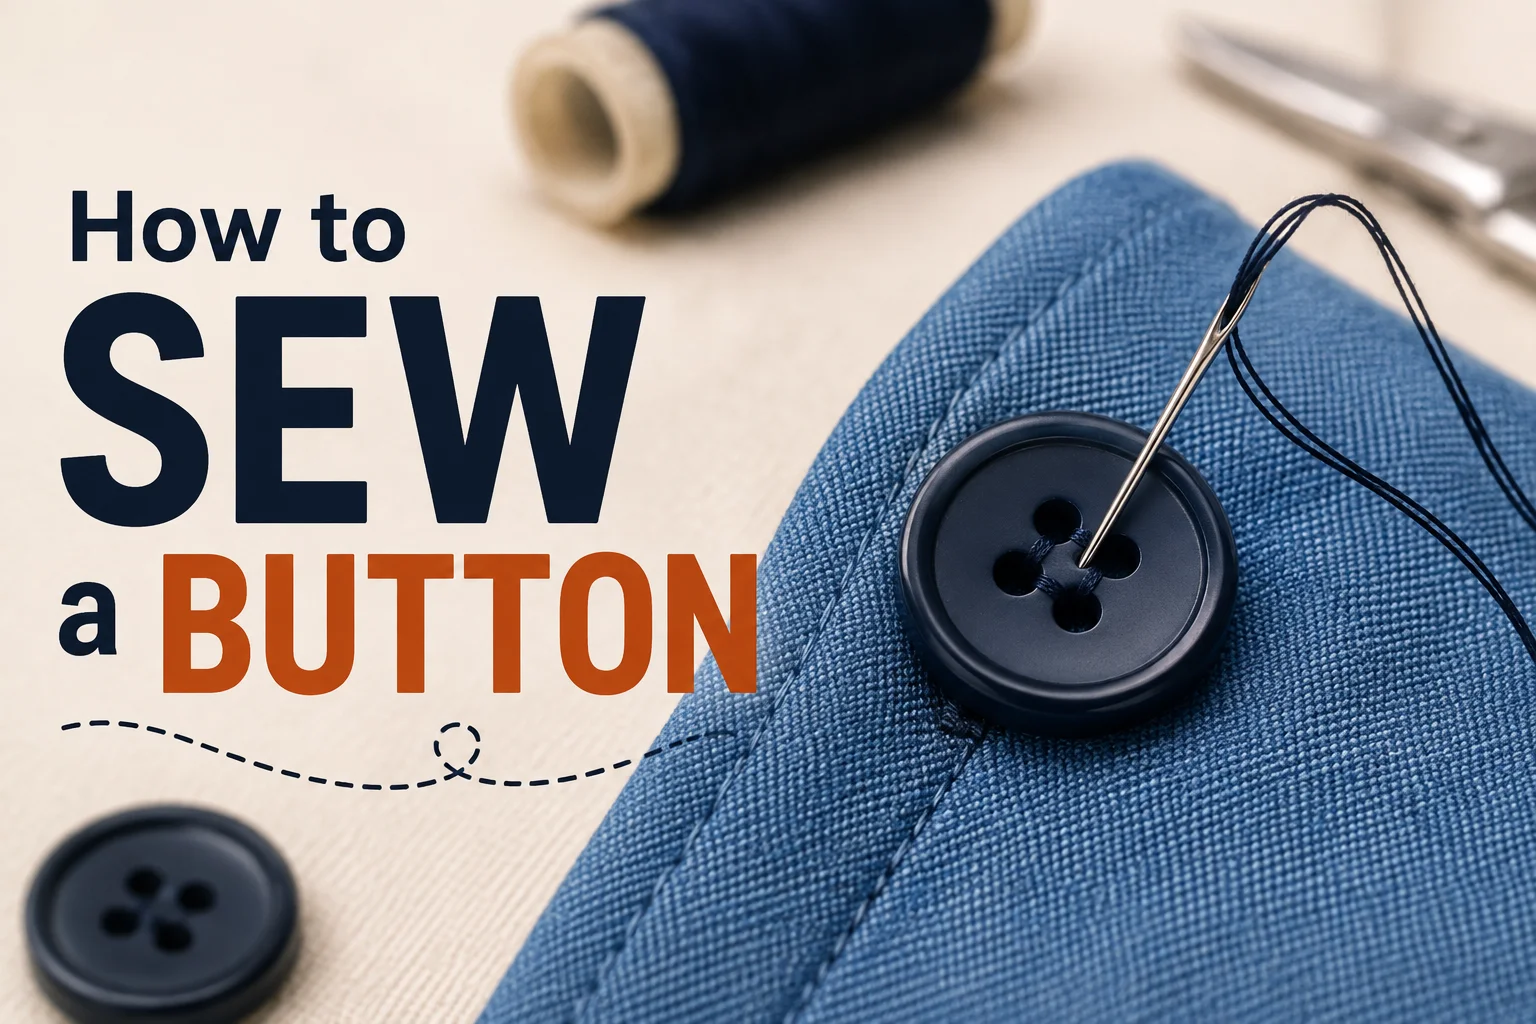
To sew a button, thread a needle with about 18 inches of doubled thread, knot the end, stitch up through the fabric and one buttonhole, then down through the opposite hole, repeating four to six times before knotting on the wrong side. Add a thread shank on anything thicker than a dress shirt.
That last step is the one most guides leave out, and it decides whether the button lasts a decade or pops off in a month. A button stitched flat against thick fabric has no room to sit in its buttonhole, so every closure pulls at the threads. This guide covers two-hole, four-hole and shank buttons, which thread actually holds, how to build a shank sized to your fabric, and the differences when sewing a button on a shirt versus a pair of pants.
Key Takeaways
- Use doubled all-purpose polyester thread for shirts, or single-strand button and craft thread for coats and trousers.
- Four to six passes through each hole pair is enough for a shirt button. Coats and waistbands need six to eight.
- A thread shank is a wrapped stem of thread between the button and the fabric. Its length should roughly match the thickness of the fabric it closes over.
- Four-hole buttons can be stitched in parallel bars or a crossed X. Parallel bars put less strain on the fabric weave.
- Shank buttons already have a built-in stem, so they rarely need a thread shank added.
- Finish on the wrong side. A knot on the right side sits under the button, wears through faster, and shows.
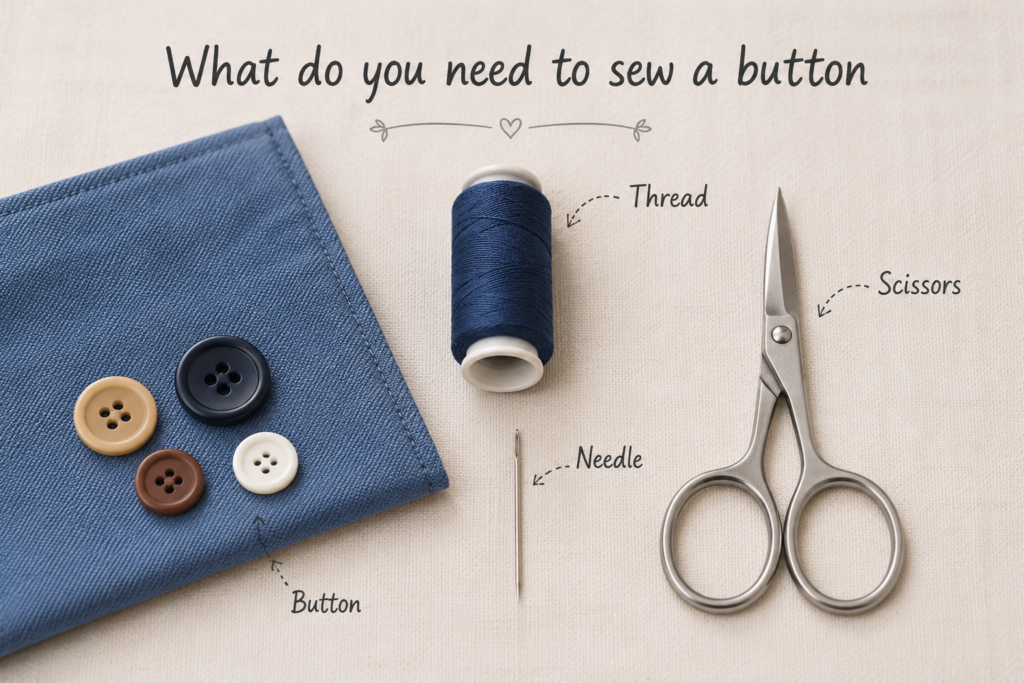
What do you need to sew a button?
You need a hand-sewing needle, thread, small scissors and the button itself. A toothpick and a thimble are optional but make the job noticeably easier.
Materials and tools:
- Hand-sewing needle, sharps size 7 to 9 for most fabrics. A larger eye is easier to thread; a finer point passes through tight weaves more cleanly.
- Thread matched to the fabric weight and colour.
- Small sharp scissors or thread snips. Kitchen scissors crush thread rather than cutting it.
- Toothpick, straight pin or matchstick as a spacer for the thread shank.
- Thimble if you are pushing through denim, canvas or a coat facing.
- Seam ripper or the tip of the scissors for removing old thread from the original stitch holes.
Save the original stitch holes if the button tore off rather than the thread wearing through. Reusing them keeps the button in exactly the right position and avoids weakening a fresh patch of fabric.
Check the garment for a spare button first. Most shirts, coats and trousers ship with one sewn inside a side seam or on the care label.
What thread should you use for sewing buttons?
Use all-purpose polyester thread doubled for shirts and light fabrics, and single-strand button and craft thread for coats, jackets and trousers. Polyester has more stretch and abrasion resistance than cotton, which matters on a fastening that moves every day.
| Fabric | Thread | Strands | Passes per hole pair |
| Dress shirt, blouse | All-purpose polyester | Doubled | 4 to 6 |
| Trousers, chinos | Button and craft thread | Single | 6 to 8 |
| Denim, canvas | Button and craft thread | Single | 8 |
| Wool coat, blazer | Button and craft thread | Single | 6 to 8 |
| Silk, fine knitwear | Silk or fine polyester | Doubled | 4 |
Button and craft thread is a heavier, tightly twisted thread made specifically for high-strain fastenings, sold by manufacturers including Coats and Gütermann. It is thicker than all-purpose thread, so it fills the buttonhole better and resists fraying.
Run the thread across a block of beeswax before you start. Waxing reduces tangling, adds a little strength, and takes about three seconds.
Match thread colour to the button rather than the fabric on decorative buttons, and to the fabric on utility buttons. Slightly darker reads better than slightly lighter if you cannot find an exact match.
How do you thread a needle and knot the thread?
Cut the thread at an angle, moisten the tip, and push it through the eye. Cut about 18 inches, since longer thread tangles and shorter thread runs out mid-button.
How to thread a needle
- Cut the end at a sharp angle with scissors rather than biting or tearing it. A clean diagonal end has a point.
- Moisten and flatten the tip between finger and thumb.
- Hold the needle against a light background so you can see the eye.
- Push the thread through, or use a needle threader for fine needles.
A needle threader costs under two dollars and turns a two-minute struggle into a five-second job. Self-threading needles with a slotted eye are the other option, though they hold thread less securely.
How to knot thread for sewing
Tie a simple double knot at the end for a quick repair. For a stronger and flatter finish, use a quilter’s knot: wrap the thread twice around the needle near the point, pinch the wraps, and pull the needle through so the wraps slide down into a tight knot.
There is a better option for visible garments. Skip the knot entirely and start with two tiny backstitches in the fabric where the button will sit. Backstitches hold as well as a knot, sit flatter, and cannot pull through loosely woven cloth.
For doubled thread, pull both cut ends together and knot them as one.
How do you sew a two hole button?
Position the button, bring the needle up through one hole and down through the other, and repeat four to six times. Align the two holes so the stitches run in the same direction as the buttonhole slit.
- Mark the position. Fasten the garment, push a pin through the centre of the buttonhole, and mark where it lands.
- Anchor the thread. Knot on the wrong side, or make two small backstitches at the mark.
- Bring the needle up through the fabric and through the first buttonhole.
- Lay a toothpick across the top of the button, between the two holes, if the fabric is thicker than a shirt.
- Take the needle down through the second hole and through the fabric.
- Repeat four to six times, keeping the stitches parallel and the tension even rather than tight.
- Bring the needle up between the button and the fabric on the final pass.
- Remove the toothpick and build the shank if you used one.
- Pass the needle to the wrong side and finish off.
Alignment matters more than it looks. On a shirt placket the buttonholes run vertically, so the stitches should too. On a collar or cuff they usually run horizontally.
Keep the tension loose enough to slide a pin under the stitches. A button sewn drum-tight has nowhere to move and tears out first.
How do you sew a four hole button?
Stitch a four-hole button in one of two patterns: two parallel bars, or a crossed X. The sequence is the same as a two-hole button, repeated for the second pair of holes.
Parallel bars run two separate straight stitches across the button face, top pair and bottom pair. This is the stronger option, because the stitches pull along the fabric grain rather than across it.
The crossed X runs diagonally between opposite holes. It is traditional on suit jackets and sport coats and holds nearly as well, though the diagonal pull distributes strain slightly less evenly.
Work one pair fully before starting the second. Complete four to six passes through holes one and two, then move to holes three and four without cutting the thread.
Two other patterns exist. A square outline stitches around all four holes in sequence, and is decorative rather than structural. A single bar through only two of the four holes is what factories often use on cheap shirts, and it is why those buttons fail first.
Match what the garment already has. If the other buttons on a jacket are stitched in an X, use an X, since a mismatched pattern is more visible than you expect.
How do you make a thread shank?
Build a thread shank by sewing the button over a spacer, removing the spacer, then wrapping the slack thread into a stem beneath the button. The shank gives the button room to sit inside the buttonhole without straining the stitches.
A thread shank is a wrapped column of thread between the button and the fabric that acts as a flexible stem. Its length should roughly match the thickness of the fabric the button closes over.
- Place a spacer across the top of the button before you start stitching. Use a toothpick for shirt-weight fabric, a matchstick for a jacket, or a folded matchstick for a heavy coat.
- Sew the button normally, stitching over the spacer so every pass carries a little extra slack.
- Bring the needle up between the button and the fabric on the last pass.
- Slide the spacer out. The button now sits loose above the cloth.
- Lift the button so all the slack gathers into a stem.
- Wrap the thread tightly around that stem five or six times, working from the fabric upward.
- Pass the needle down through the fabric beside the shank and finish on the wrong side.
Shank length by garment: barely any for a dress shirt, about an eighth of an inch for a blazer, and a quarter inch or more for a winter coat. Hold the button against the closed garment and look at the gap it needs to bridge.
Skip the shank on thin fabrics. A shank on a lightweight blouse leaves the button loose and flopping.
How do you sew a shank button?
Stitch through the built-in loop on the back of the button, taking six to eight passes through the same spot. Shank buttons have no holes through the face, so all the stitching happens underneath and stays invisible.
- Mark the position using the buttonhole as a guide.
- Anchor the thread with a knot or two backstitches.
- Bring the needle up and pass it through the metal or plastic loop.
- Take the needle back down close to where it came up, forming a short stitch.
- Repeat six to eight times through the same loop.
- Wrap the thread twice around the base of the stitches to bind them.
- Finish on the wrong side.
Keep the stitches short and clustered. Spread-out stitches let the button rock from side to side, which loosens it and wears the fabric.
Orient the shank so the loop runs in the same direction as the buttonhole. A loop set crossways forces the button to twist every time the garment is fastened.
Most shank buttons need no thread shank added, since the metal loop already provides the stem. Very heavy coats are the exception, where a short thread shank on top of the built-in one gives useful extra clearance.
How do you sew a button on a shirt?
Use doubled all-purpose polyester thread, four to six passes, and little or no thread shank. Shirt fabric is thin, so a button sitting almost flat against the placket is correct.
Find the position by fastening the shirt and pushing a pin through the centre of the empty buttonhole. That mark is more accurate than measuring against the neighbouring buttons, which are rarely evenly spaced on mass-produced shirts.
Match the stitch direction to the buttonhole. Placket buttonholes are vertical on most shirts, while collar and cuff buttonholes run horizontally.
Cuff buttons take more strain than placket buttons, because the cuff pulls sideways every time you move your wrist. Give cuff buttons six passes rather than four, and use a very short shank of two or three wraps.
Check the spare button before matching a replacement from a jar. Shirt buttons vary in diameter by sixteenths of an inch, and a button slightly too large will not pass through the buttonhole.
Learning to replace a shirt button is a small piece of general garment upkeep, and it sits alongside the other details that make an outfit look finished, from a well-pressed collar to a correctly folded pocket square.
How do you sew a button on pants?
Use single-strand button and craft thread, six to eight passes, and a proper thread shank sized to the waistband thickness. Trouser waistband buttons carry far more load than shirt buttons and fail more often.
Waistbands are usually three or four layers of fabric plus interfacing, which means the button needs real clearance. Use a matchstick as your spacer rather than a toothpick.
Reinforce the back if the fabric has torn. Sew a small square of interfacing or a scrap of matching fabric to the wrong side first, then sew the button through both layers. On heavy denim, a small flat backing button on the inside spreads the load and stops the fabric pulling through.
Push through denim with a thimble. Forcing a needle through four layers of canvas with bare fingers bends the needle and usually breaks the skin before the fabric.
Jeans typically use a metal tack button rather than a sewn one. Those need a replacement tack kit and a hammer, not thread, so check which type you have before starting.
What are the most common button-sewing mistakes?
The most common mistake is sewing the button too tight. Every other frequent error involves thread choice, finishing, or position.
| Mistake | What happens | Fix |
| No thread shank on thick fabric | Threads strain and snap within weeks | Sew over a spacer, then wrap a shank |
| Stitching too tight | Button cannot sit in the buttonhole | Leave enough slack to slip a pin under |
| Single strand of all-purpose thread | Fails under normal use | Double it, or use button and craft thread |
| Knotting on the right side | Knot wears through and shows | Finish on the wrong side |
| Guessing the position | Placket pulls crooked when fastened | Mark through the buttonhole with a pin |
| Cutting thread too close to the knot | Knot unravels | Leave a quarter inch tail |
| Thread over 24 inches long | Tangles and knots mid-job | Cut about 18 inches |
Test the button before you cut the thread. Fasten it once. If it strains, pulls the fabric, or will not seat properly, undo it and rebuild the shank rather than living with it.
Who this guide is not for. These methods cover standard sewn buttons on woven garments. Metal tack buttons on jeans need a replacement kit and a hammer. Leather, suede and heavily beaded fabrics need specialist needles and often professional repair, since a wrong stitch hole in leather is permanent.
Frequently asked questions
How many times should you loop thread through a button?
Four to six passes through each hole pair for shirt buttons, and six to eight for coats, trousers and anything under strain. More passes than that fill the holes and stop the button seating properly.
Can you sew a button with a sewing machine?
Yes, using a button foot and dropping the feed dogs, or by setting a zero-length zigzag. Hand sewing is faster for one button and produces a stronger result, because a machine cannot build a thread shank.
What thread is strongest for buttons?
Button and craft thread, a heavy tightly twisted polyester made for fastenings. Doubled all-purpose polyester is the next best option and is what most people have available.
How do you keep thread from tangling?
Cut no more than 18 inches, run the thread over beeswax before starting, and let the needle hang loose every few stitches to untwist. Most tangling comes from thread that is simply too long.
Do you knot the thread before sewing a button?
Either knot it or start with two small backstitches. Backstitches sit flatter and hold better on loose weaves, which makes them the better choice on fine fabrics.
How long should a thread shank be?
Match it roughly to the thickness of the fabric the button closes over. Almost nothing on a dress shirt, an eighth of an inch on a blazer, and a quarter inch or more on a winter coat.
Which way should the holes on a two hole button face?
Align the two holes so the stitches run in the same direction as the buttonhole slit. This reduces strain and keeps the button seated evenly when fastened.